Photographing and Processing Hatchment images

In the last blog, I recommended the Hatchments in Britain book, enabling its reader to decipher the hidden meaning within these depictions of heraldic achievement.

In this blog, I want to share something more practical, which I hope will be of use.

Hatchments are often hanging high up on the walls in churches – often above the level of any decent light. They can therefore be a complete pain to photograph. Put simply, if the light is poor, in order to capture enough of the image to process decently later on, you are going to want to use a tripod – but what I want to show you is what to do with that image if you have managed to get a detailed, if dark and skewed image.

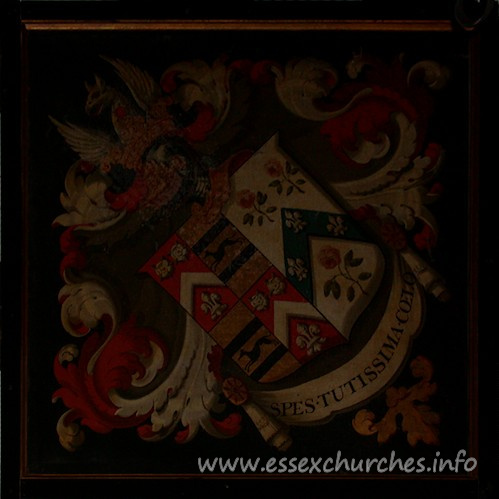
Consider the following hatchment image, taken in Bobbingworth church.

Hatchment from Bobbingworth Church - as taken
Hatchment from Bobbingworth Church – as taken

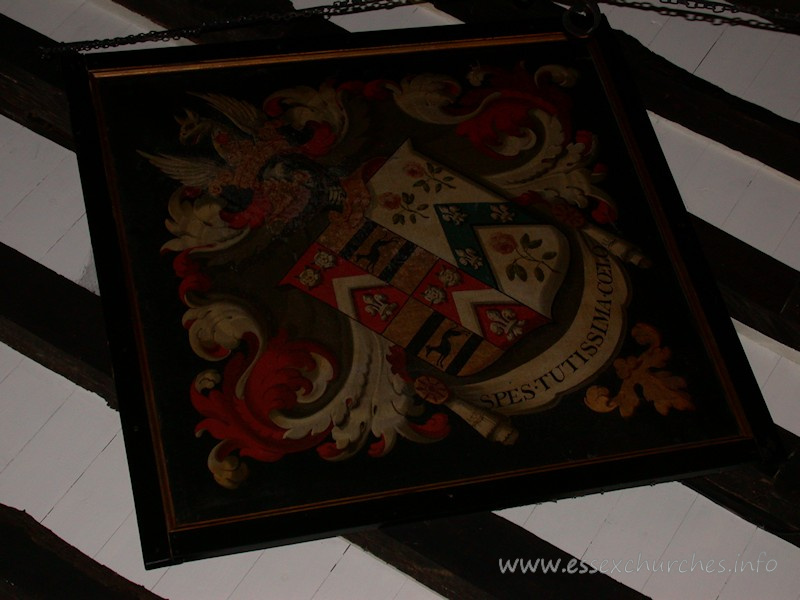
The image is hardly something to write home about, is it?

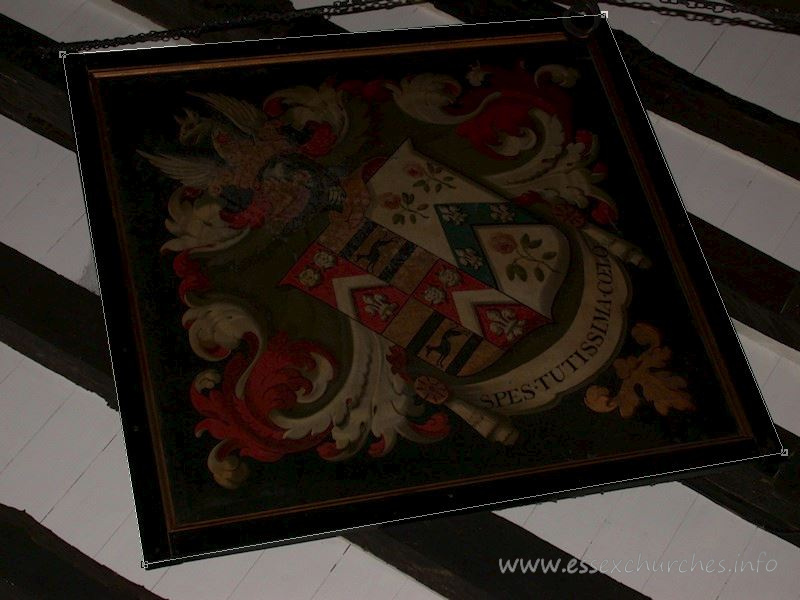
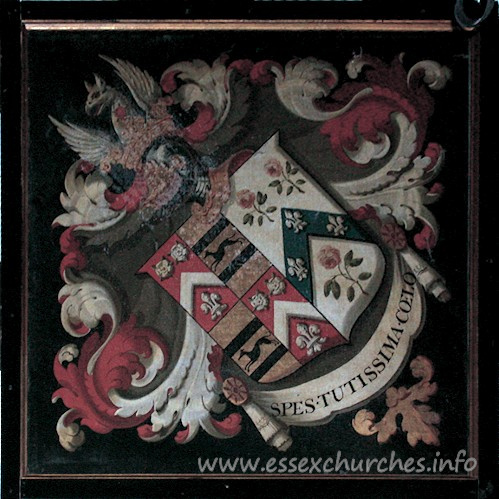
What we ideally want to do, is show the hatchment lozenge the correct way up, and perfectly squared. You need a photo editing package that can perform perspective correction – preferably one where you plot four points on the image, which represent a parallelogram if it were viewed straight on. See below for those four points shown in my copy of Paint Shop Pro X4.

Perspective Marks Set

You then just click ‘apply’, and the program will do all of the mathematics for you, re-mapping the image to correct the perspective, as below – though we are not finished yet.

Perspective corrected

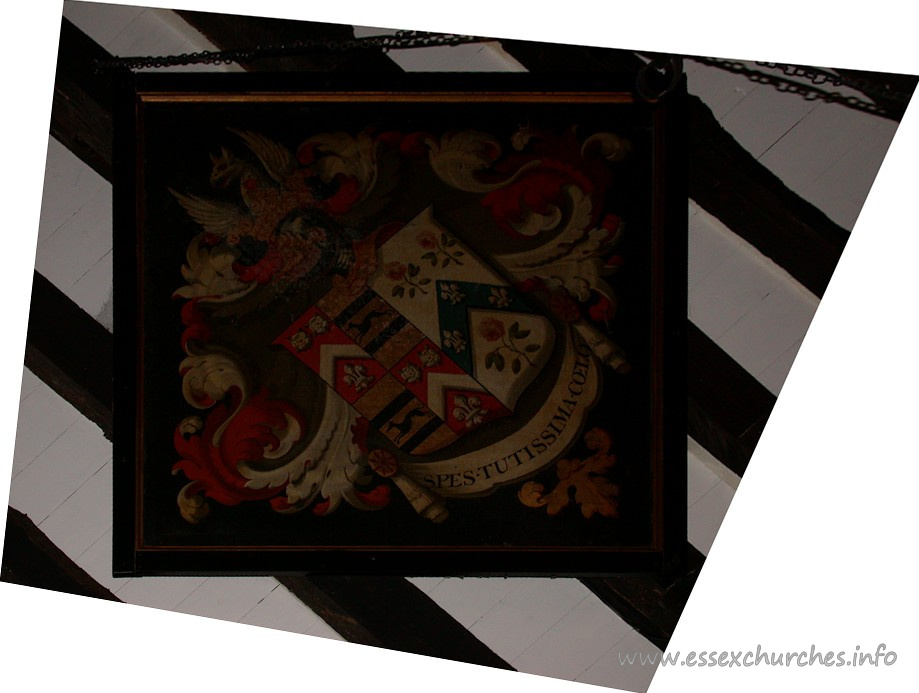
It may be possible to achieve the re-mapping shown above using other types of geometric perspective correction, but the co-ordinate plotting method is by far the simplest. As I said, I use Paint Shop Pro – which has had this function for many years. I also know that Adobe Photoshop (full edition) can perform this function (it resides within the cropping functionality) – though Adobe Lightroom and Photoshop Elements do not, to my knowledge, support it.

The next task on our list is to re-square the hatchment. We do this by firstly cropping the hatchment frame correctly. You should crop exactly where the front surface’s edges are. I.e. you want to be left with ONLY the front surface of the hatchment, as shown below.

Crop around frame
Crop around frame

Then we need to re-square it. This is done by re-sizing the image, but ensuring that the aspect ratio is not preserved during the resize. Essentially we are moving from a rectangle to a square, and maintaining the aspect ratio would cause any resized image to remain rectangular. In your resize dialogue, find out what the length of the current short side of the image is in pixels, and then set both the width and the height to that shorter pixel length, as shown below.

Re-squared hatchment image.

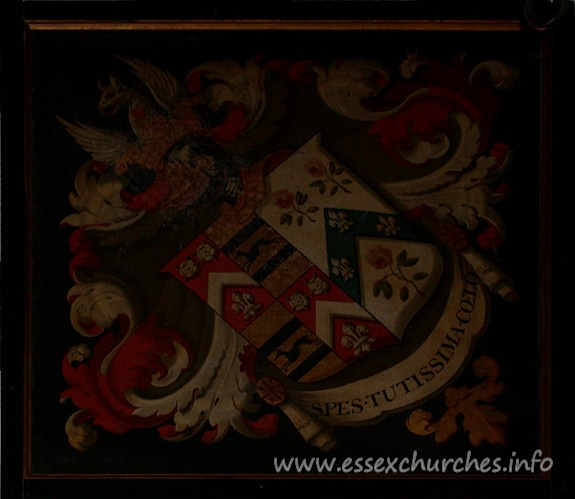
Now we can restore some of the image contrast etc. To get the image below, I performed:

  • Auto contrast
  • Auto colour balance
  • Auto saturation
Image contrast, balance and saturation corrected.

Then finally, you just free-rotate the image accordingly, specifying a white background for new ’empty space’.

Rotated and finished image

I hope this has been useful. Please do let me know.

Share:  Facebooktwitterredditpinterestlinkedintumblrmailby feather

Follow:   Facebooktwitteryoutubeby feather

BOOKS PART 4 – Hatchments in Britain

When I first started looking around churches in anything more than a touristic fashion, I used to just look at the building itself. It had always been the soaring pillars, gothic archways and general mysteriousness of the building that captured my attention.

It took a while, therefore, before I truly understood what a hatchment actually was. In fact, I think it was my friend John Vigar who first explained exactly what they were used for, telling me that essentially, the hatchment was a depiction of a high status person’s heraldic achievement, which was used at a funeral, and that was carried in front of the coffin. After usage for the funeral, they were hung on the deceased’s front door for some time, and were then hung in the church. The fashion for hatchments first came about in the early 17th century, but they are rarely used today.

The raison d’être for this blog post is, then, to introduce the reader to what I believe is another essential read for the county church crawler. The book is Hatchments in Britain Volume 6: Cambridgeshire, Essex, Hertfordshire, Huntingdonshire and Middlesex by Peter Summers. You’ll find a link to the book in the BOOKS link, and by navigating to the second page of the ‘Essex Church Books’ category.

The book lists all known hatchments in the county, but also explains exactly what hatchments actually mean. There is a lot of symbolism and hidden meaning within these devices. There is far too much to go into here, but the colouring of the background, and shape of the arms can indicate marital status, or even a man surviving two wives.

In order to understand much of the detail relating to the individual hatchments, it is necessary to understand some of the terminology used. A start can be made on this Wikipedia page. For instance, dexter refers to the left-hand side of the hatchment as viewed by a third party (or the right-hand side as viewed by the bearer). And sinister refers to the right-hand side of the hatchment as viewed by a third party.

What the book will tell you, however, without too much heraldic knowledge, is which hatchment belongs to which person. The task is made easier when there is text on a hatchment…but even just understanding dexter and sinister goes some way towards identification.

Another aspect of hatchments of which I am fond is their photography, which I will cover in my next blog.

Share:  Facebooktwitterredditpinterestlinkedintumblrmailby feather

Follow:   Facebooktwitteryoutubeby feather